3 Ways to Auto Logon to Windows without Typing Your Password

If multiple users have constant access to your Windows computer, it is always recommended to setup separate user accounts. Not only does this allow users to customize their own account with different themes and desktop wallpapers etc, it can also be better for security. Put a password on your account and it makes it more difficult for other users to access the account your personal files and data
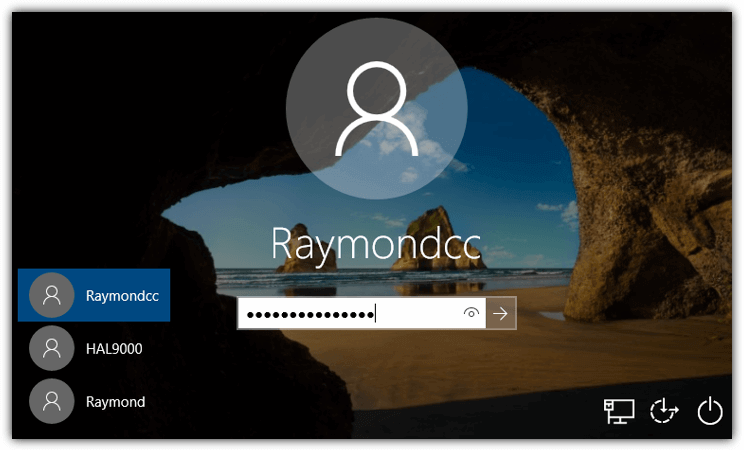
When multiple accounts are present on the computer, while booting you will be prompted to select a user during logon. The password will also be required if that user account has one set up. Even if you are the only user on the computer, you will be still be asked to enter your password. This is obviously a good thing for security but if other accounts are very rarely used or you’re the only user that ever uses the computer, it can become a pain to constantly have to enter the password.
Thankfully Windows has the built in ability to allow a user to automatically logon without typing their password. As you might expect, the option is hidden away slightly to stop general users bypassing their own password too easily, which can reduce security. Once accessed, it is easy to setup and change, here are three different ways to enable the Windows auto logon function. All methods work on Windows XP, Vista, 7, 8.x and 10 unless stated.
Please be aware that enabling auto logon makes your computer more convenient to use but anyone can simply turn on the computer and access your personal data, so it’s less secure than logging on manually. That needs to be taken into account.
Sysinternals Autologon
If you want a small and simple tool that allows you to quickly enable or disable the Windows auto logon feature, then Autologon by Sysinternals will do the job. It’s a tiny portable executable and currently only 135KB in size when extracted from the Zip.
Using Autologon is quite self explanatory when you launch it. Simply enter the username to logon to that account (default is the primary user) and the password for the account. The Domain box is optional and you don’t need to worry about changing it unless you are specifically logging onto a domain. Then press Enable. If you want to disable auto logon just press the Disable button, you don’t need to edit any values in the boxes for that.
The password you enter is encrypted so no-one can browse through the registry to find it. This is more secure than editing the registry directly. Sysinternals Autologon can also be used from scripts and the command line although you can only enable the auto logon feature, not disable it.
Autologon username domain password
Simply use double quotes for the domain if you don’t need to use that argument.
Download Sysinternals Autologon
Enable Auto Logon From The User Accounts Control Panel
The User Accounts Control Panel applet is quite powerful and potentially dangerous if used incorrectly, so take care to only set the options as guided.
1. Open Start and type netplwiz. You can also type control userpasswords2 if for some reason netplwiz doesn’t work. Windows XP users will need to type control userpasswords2 into the Windows Run dialog box (Win+R).
2. The User Accounts window will appear with a list of current users for the computer. Click on the user name you want to log on automatically with and then uncheck the “Users must enter a user name and password to use this computer” checkbox. Then click the OK button.
3. A dialog box will appear with the user name you selected in step 2. Type the password for the user into the box and again in the confirm box, and press OK.
Take note that this method only works if you’re trying to logon as a local user, it won’t work for other types of logon such as domain accounts or Microsoft accounts (in Windows 8.x and 10).
Manually Enable Auto Logon Via The Registry
Although editing the registry is relatively simple and available to everyone (including domain accounts), it does pose a greater security risk than the other methods. The reason is the password for the account you want to automatically log on with is stored in the registry in plain text format.
That means anybody can go to the registry key where the password is stored and find out what it is, even while the system is offline and not booted. For that reason, this method should be used only if the others have failed. With both of the other methods above the password is encrypted.
1. Click on Start and type Regedit, administrator privileges are required to run the Registry Editor. Alternatively use the Win+R Run dialog.
2. Navigate to the following registry key:
HKEY_LOCAL_MACHINE\SOFTWARE\Microsoft\Windows NT\CurrentVersion\Winlogon
3. There are three main registry values in the Winlogon key which need editing or creating, a fourth if you want to log on via a domain. They are DefaultUserName, DefaultPassword, DefaultDomain and AutoAdminLogon. The AutoAdminLogon value will already be present but the others may or may not be depending on your system. If they are not there, add each one as needed.
Right click on Winlogon key > New > String Value and name it DefaultUserName
Right click on Winlogon key > New > String Value and name it DefaultPassword
(Optional) Right click on Winlogon key > New > String Value and name it DefaultDomain
4. Once the required three or four values are present, double click on each one in turn and edit its Value data to match the user you want to set up as auto logon.
DefaultUserName – The name of the user to auto logon with.
DefaultPassword – The password of the above user.
DefaultDomain – (Optional) The domain to log onto, ignore if you’re not part of a domain.
AutoAdminLogon – Enable or disable auto logon, enter 1 to enable, 0 to disable.
5. Once you have completed entering the values, close the registry editor and restart to see if the changes have been successful. If they are, the specified user won’t be asked to log on.
To revert the changes you have made and turn off the auto logon function, open the registry editor and go back to the Winlogon key from step 2. Double click on and change the AutoAdminLogon value to 0, then optionally empty the DefaultPassword value data so the password is no longer visible.
Tip: If you would rather not create and edit data in the registry in case you misspell or enter the wrong value, it will be easier to use a ready made registry file. Download User_Autologon.zip and extract the archive, then open User_Autologon.reg with Notepad. Edit the values for username, password and optionally domain. Save the file and double click it to add the data to your registry.
Nothing bad will happen if you enter the wrong username or password in the registry. It will just produce an error at the logon screen and require you to manually select an account to logon with.
The other file in the archive (User_Autologon_Disable.reg) will disable the auto logon whatever method you have used above to enable it. The plain text password will also be removed if there’s one present in the registry.
AutoLogon To Windows XP With TweakUI
For those users specifically still using Windows XP, there is a program you might already have installed that can enable auto logon. If not, TweakUI is an essential little tweaking, fixing and enhancing tool made by Microsoft themselves you really should have installed.
Download and install the program, open the Logon tree and click on Autologon. Tick the “Log on automatically at system startup” box and make sure the right user name is displayed or type it in. Then click the “Set Password” button to enter and confirm the password for the account.
Tip: While the auto logon function is active it’s still possible force the standard logon screen to show so you can select another user or enter a password. Simply hold down the Shift key just after the Windows logo disappears and before you would normally see the user selection/logon screen.

Improve this guide

User forum
0 messages