Uninstall Option not Available in Control Panel [Fix]
The correct and safest way to uninstall or remove an installed software or driver on a Windows computer is from Add or Remove Programs which can be found in Control Panel. When you run the uninstaller, it will simply refers back to the list of files that is extracted to the program’s folder during installation and deletes them. Sometimes you will notice that even after uninstalling a program, the program’s folder and some files will still be there. Those files are the ones that is created by the software, not extracted by the installer. There are some uninstaller that is smart enough to ask you if you’d like to delete the remaining files.
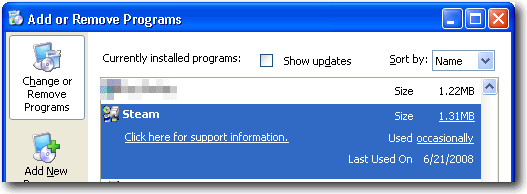
Normally when you open Add or Remove Programs shortcut from Control Panel, you will see a list of installed software which you can change or remove. The change option is usually used to repair the software. It actually meant reinstall the program with exactly the same components that were installed first time. As for remove option, it uninstalls the software from your system.
There are times that you need to remove or uninstall a software or driver from your computer but the Change/Remove button in Add or Remove Programs is missing!
Here is a method to make Windows show the Remove, Change (or the Change/Remove button together) buttons in the listing.
This solution requires registry modification. So becareful not to change anything else.1. Go to Start > Run
2. Type regedit and click OK
3. Navigate to:
HKLM\SOFTWARE\Microsoft\Windows\CurrentVersion\Uninstall\{Program Name}
Note that as the {program name} may be a CLSID, you may need to search for the product name (e.g. “Intel Audio Studio”, using what you saw in Add/Remove) to locate the correct entry.
4. If you see NoRemove with the data 0x00000001 (1), that means the remove button will be unavailable. If you also see NoModify with the data 0x00000001 (1), that means the change button will be unavailable.
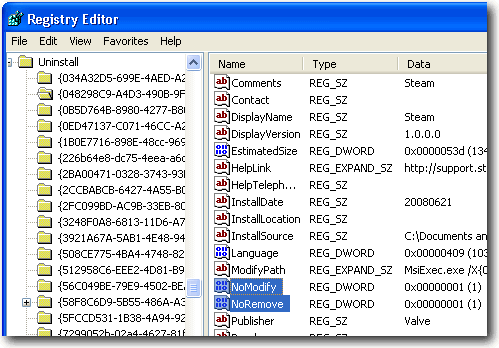
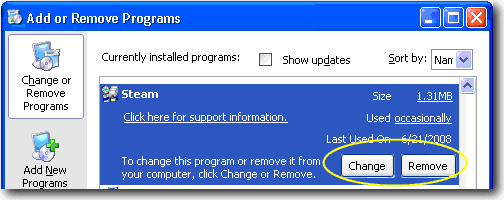
5. Simply double click on the NoRemove or NoModify name and change the value data to 0 (number zero). If Add or Remove Programs is open, close it and reopen again. The Change/Remove button should now appear.
If the above registry hack didn’t work, you should try running this registry fix created by Kelly Theriot to restore change or remove button.
One of the most common software or driver that the Change or Remove button is missing is Intel Audio Studio. I am sure there are more…


I found this fix to have no relevance or baring on whether I could see the Change/Remove buttons. My work computer has (1) yet I am still able to use these buttons. The missing variable (s) are admin rights, group policies and missing/corrupted registry all together. Most of my research points to the particular program missing all together from specific registry path.
Thank you. I too want my control panel to work like it is supposed to. Needing another program to do what control panel is supposed to and does seems to be unnecessarily complicated.
It’s very useful to us… Anyway thank…
I prefer lesser softwares in my computer too. So this may be a better solution, though I have never faced this problem before.
But I used CCleaner for some purposes like deleting and clearing file, which is good, and also includes built in uninstaller so CCleaner is great.
good
thank you
this is nice. thanks ray.
geek or no geek, nevermind…i like this info. with this info, no need to use uninstall tool…less tool i used in my pc, i like it
Thanks Raymond.
Yes a well written tool can be most useful BUT don’t we have a responsibility to try and understand the basics of our machines also? Nowadays, kids are allowed to use calculators in school at a young age. Fine you say – but what the hell are they going to do when the bloomin calculator packs up ?
wonderful , thanks a lot.
thanks ray… pretty slick
i don’t have this problem but Thanks Raymond for the info
good