How To Make a Windows XP Install Disc That Includes Drivers

Although Windows XP is no longer officially supported by Microsoft it’s still a hugely popular operating system. Now is obviously a good time for people to move to Windows 7 or 8 if possible, but not everybody can or wants to completely leave XP for various reasons. Time moves on though, and things like software compatibility and especially driver support will eventually become more of a problem if you use newer hardware for your Windows XP equipped computer.
One area where Windows Vista, 7 and 8 have greatly improved over XP is driver support out of the box which is partly why the XP install disc is a CD and the others are a DVD. This is obviously a great help because having the video, motherboard, drive controller, sound and networking hardware detected and the drivers installed automatically can save time and effort, especially if you can’t access the internet to download any drivers because your network adapter has no driver installed.
It can become quite tough finding all the right drivers when you reinstall Windows, some may come from the manufacturer website, others could be for unknown or discontinued hardware. DriverPacks is a set of hundreds of drivers which you integrate into a Windows XP install disc, and then while Windows is installing, any needed hardware drivers contained in those packs are automatically installed as well. It’s a nice solution when you have to do nothing but wait a few extra minutes instead of playing detective or using another computer to get your drivers for a clean install.
DriverPacks also produce packages for Vista and Windows 7 but they are less useful because the DriverPacks system has never been updated to support them. There is another method for Vista and 7 whereby you can create a DVD/USB to install drivers after the operating system has been installed.
Here we show you how to create a Windows XP setup disc which will install most, if not all of your important drivers. You will need a Windows XP install CD. Note you can create the disc using a Windows vista/7/8/8.1 system but it will obviously only install Windows XP.
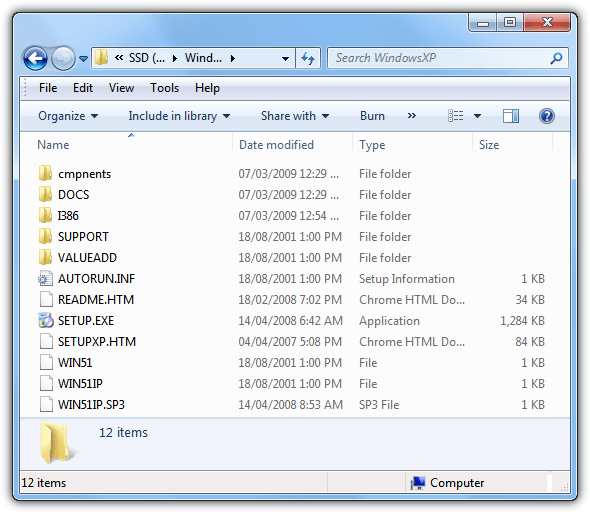
1. Insert your Windows XP install CD and copy all files/folders to a folder on your computer, for example C:\WindowsXP.
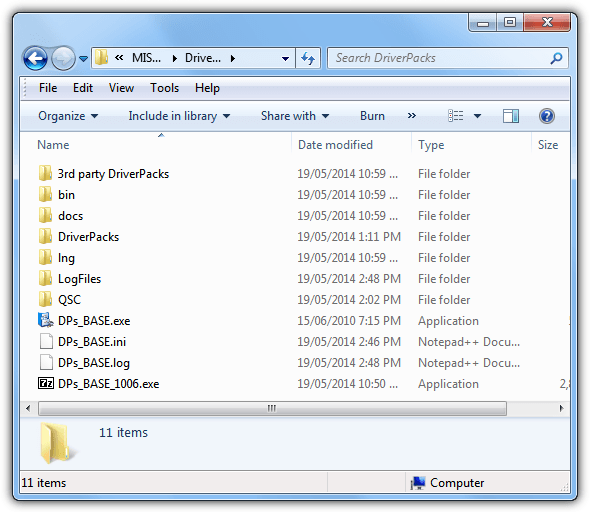
2. Download DriverPacks Base and place the self-extracting executable file into a new folder, e.g. C:\DriverPacks. Execute the DriverPacks Base file and let it extract its contents.
3. Download the Driverpacks you want for XP. There are several available but we would advise you just stick to the most critical drivers to get your computer running properly, namely Chipset, Graphics, LAN, WLAN, Sound and Mass Storage. Packs like Webcam or Bluetooth are less important and 3rd party meaning they are not officially tested and could cause problems.
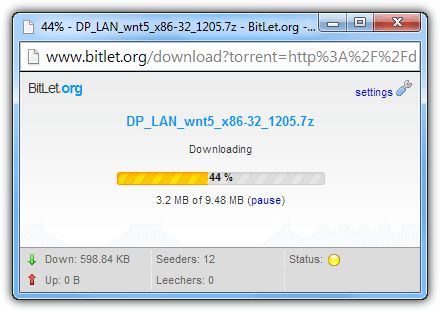
An important note is these days the DriverPacks are only distributed as torrents so you will need either a torrent client or use something like Bitlet which allows you download torrents through your web browser. Packs are always well seeded and should download quickly.
If you want to reduce space and only include one set of drivers for your own PC for instance, download the Graphics pack which contains the required drivers. For example, Graphics A contains most of the nVidia and AMD/ATI drivers, Graphics B includes the Intel video drivers and etc. A similar thing applies to Sound packs.
4. Copy the downloaded packs to C:\DriverPacks\DriverPacks or the folder you created in step #2. Do not unpack them as they are 7z archives.
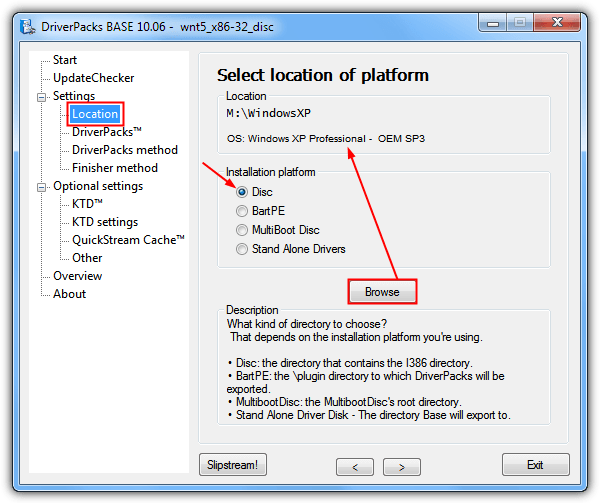
5. Run DPs_BASE.exe from the C:\DriverPacks folder, expand the Settings tree and click on Location. At the page asking you to select location of platform, make sure “disc” is selected, click Browse and locate the folder you copied the Windows XP CD contents to in step #1. It will then identify the operating system inside the folder.
6. Go to Settings > DriverPacks and select the packs that you want to integrate and click Next. The Mass storage text mode at the bottom is useful if you use a SATA or RAID controller on your computer, read our article on SATA/RAID in XP to find out more.
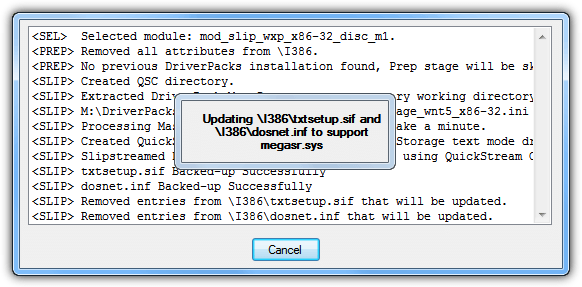
7. In the Settings > Driverpacks method window make sure “method 2” is selected. Click Overview to review your settings or simply click the Slipstream! button to begin the process, it should take no more than a few minutes.
8. There are a couple more steps to go through to get your XP + drivers disc to actually install, first you need to create an ISO file and then burn it to disc or USB. To create the ISO download RVM Integrator which is a tool a little similar to nLite.
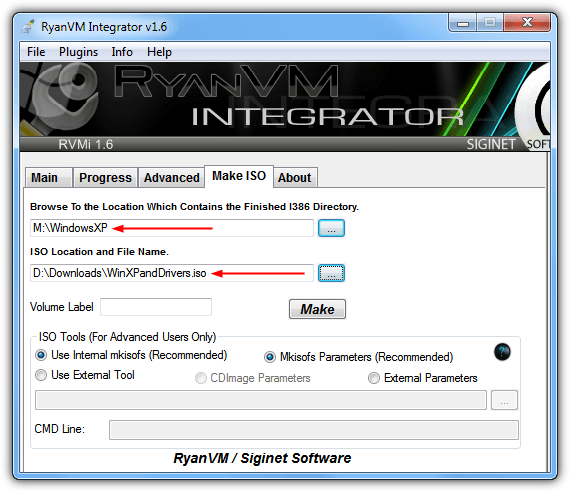
9. Run the executable inside the archive and go to the Make ISO tab, click the button to browse to the location which holds the XP folder from step #1, then click the button to give a filename and folder for the new ISO file. Click Make.
10. The last step is to either burn the ISO image to DVD or write it to USB. We have a list of 10 tools that can burn ISO images to disc or alternatively for a bit more speed during install, write the Windows ISO to USB flash drive using one of the 10 Windows to USB tools in our article.
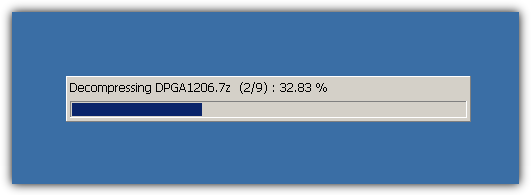
Now all you have to do is boot your computer to USB or CD/DVD as you normally would to install Windows and go through the setup and install process. Before you reach the blue XP setup interface, the Driverpacks will begin extracting themselves to the hard drive ready for installation later in the process.
If all goes well your Windows XP will be installed and all the important drivers will already be installed meaning you can get on and do other things without the hassle of searching for and installing compatible drivers.
Note: There are many other extras you can add into an XP installation disc with slipstreaming tools such as nLite, things like individual drivers, service packs and hotfixes etc. If you are doing this as well you need to make sure the Driverpacks are added last, so use nLite or RVM Integrator first, then use the Driverpacks in this guide after.

Improve this guide

User forum
0 messages