Protect CD, DVD or USB Contents by Encrypting with VeraCrypt
In 2014 encryption software Truecrypt was discontinued under mysterious circumstances and nobody truly knows why. The website says the software is insecure and recommends you use Bitlocker instead. A major audit of TrueCrypt’s source code was conducted and found no evidence of backdoors or malicious code although some vulnerabilities were identified. As TrueCrypt is now abandoned, the issues found by the audit and any future bugs or vulnerabilities will never be fixed which is potentially dangerous for encryption software.
Thankfully because the source for TrueCrypt is available, a few forked versions have been created and one of those is VeraCrypt. VeraCrypt looks and behaves like TrueCrypt but fixes a number of the issues found in TrueCrypt’s code. Therefore it should be more secure and have less bugs and should be used by anyone still running TrueCrypt as previous compatibility issues between the two have now been solved.
VeraCrypt also has portability where you can protect data by encrypting it and then save both the encrypted volume and the program files to a CD, DVD, Blu-ray disk or USB flash drive. This way the media can be used on any Windows computer and you can easily launch VeraCrypt to decrypt the data without needing to download or install it. Here’s how to create a USB or optical media including the VeraCrypt program files and the encrypted files.
1. Download VeraCrypt from Codeplex.2. Run the VeraCrypt setup installer and accept the license agreement. At the next window select Extract, accept the warning messages and choose a destination folder to save the files.
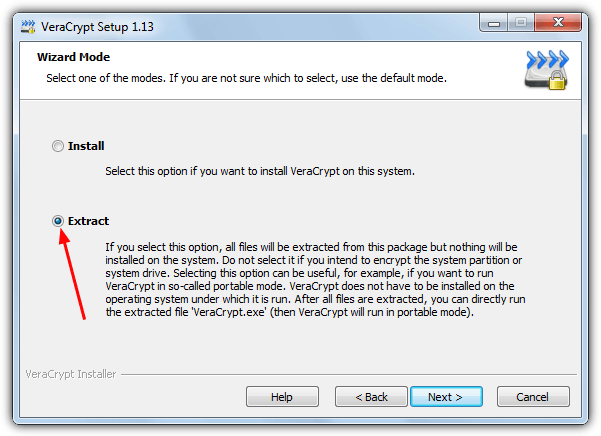
Note that when run in portable mode VeraCrypt will ask for full administrative privileges if you have UAC enabled as it needs to register the veracrypt.sys driver.
3. Run VeraCrypt.exe or VeraCrypt-64.exe if you have a 64-bit Windows and click on the Create Volume button.
4. Select “Create an encrypted file container” and click Next. This method will create an encrypted disk inside a file which can easily be copied to USB or CD/DVD. USB flash drive users could go down another route and encrypt the volume although that would make the whole drive inaccessible while encrypted and the VeraCrypt files cannot be copied over.
5. Next you are asked to select a Standard or Hidden VeraCrypt volume. Select Standard VeraCrypt volume as it’s fine for most usage scenarios, click Next.
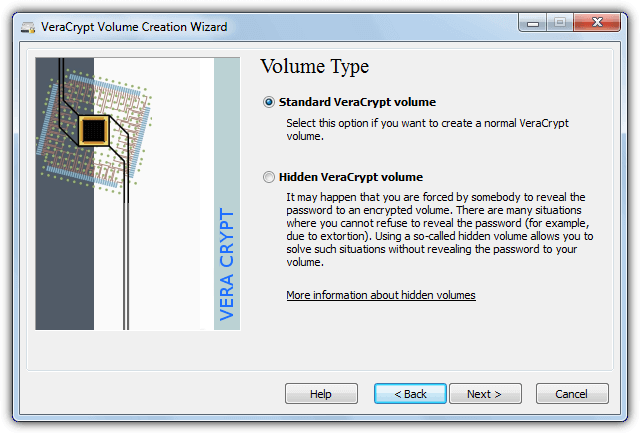
A Hidden volume can be used but it’s mainly for extreme circumstances where you may be forced to reveal your password. It creates an encrypted volume inside the free space of another encrypted volume. As free space in encrypted volumes is always filled with random data it’s almost impossible to detect whether there is any real data there or it’s randomly filled free space.
6. Choose a filename and location to save the VeraCrypt volume by clicking the Select File button, then click Next. Make sure the target drive you are saving to has enough free space to create the container file in step 8.
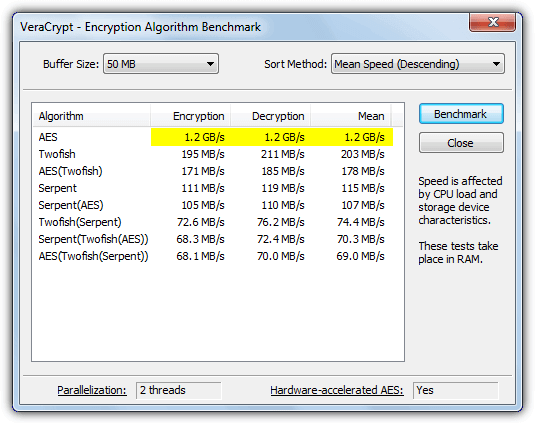
7. At the next window select the encryption algorithm although we suggest leaving the default of AES, apart from being plenty good enough for most uses it’s also at least six times faster than the other algorithms available. Click Next.
8. This next window asks for the size of the encrypted volume that will go on the disk or USB drive, you need to make sure it will be no more than the total size of the media minus around 30MB of space required for the VeraCrypt program files. Click Next.
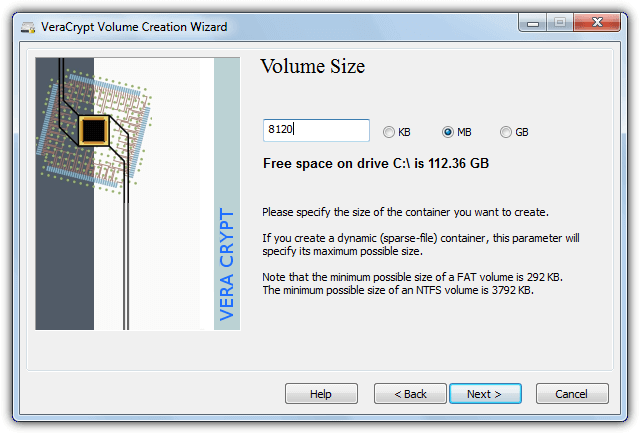
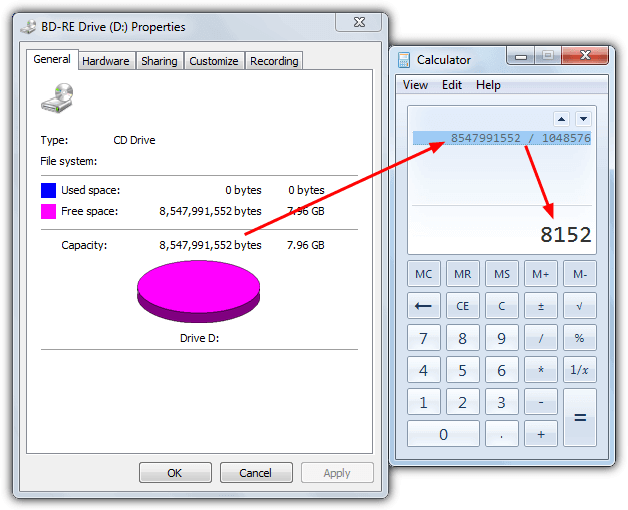
Tip: To get the total capacity of the blank disk or flash drive, insert it into the optical drive or USB port and open Computer, right click on the drive letter and select Properties. Note the capacity in bytes, open Calculator and enter the total bytes divided by 1048576. This will give the total amount of space available in Megabytes which you can adjust accordingly to enter into VeraCrypt.
9. Enter a password up to 64 characters in length, obviously the longer and more complicated, the better. Make sure you remember the password once entered because if you lose it, you are not going to get the encrypted files back.
10. If you have selected a volume size of over 4GB (4096MB) in step 8, an additional window will be displayed that asks if you are going to store files over 4GB inside the encrypted volume, if you are select Yes. This will adjust the volume file system automatically from FAT to NTFS.
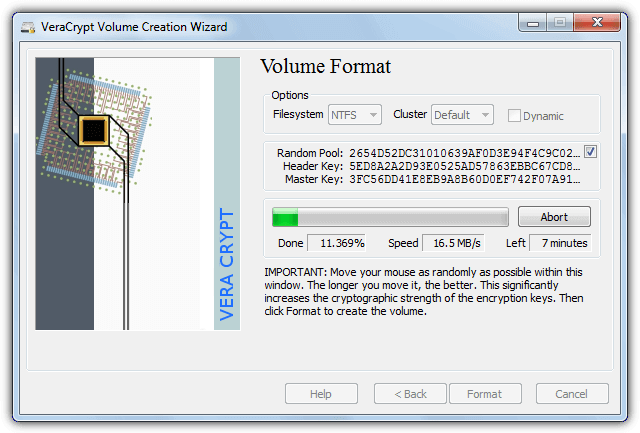
Click the Format button to format the volume and wait for it to finish. Click Exit when the volume is created.
11. Back at the VeraCrypt main interface click on any drive letter in the list and press the Select File button.
12. Select the volume container file with the chosen name at the location from step 6 and then click the Mount button in the main window. Enter the password for the volume specified in step 9. The mounted volume will appear in the window and will be mounted to the selected drive letter.

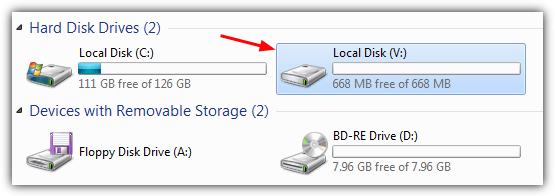
13. Go to Computer and you will see the new drive with the size and drive letter you selected. Alternatively double click on the mounted volume entry from VeraCrypt to directly open the drive in Explorer. The volume is now decrypted and ready for you to copy data onto, files will be encrypted on the fly as you copy them over.
14. Once you have finished copying files to the mounted volume, it needs to be dismounted. Highlight the drive in the VeraCrypt window and then click the Dismount button. Click Exit to close VeraCrypt.
15. To put the encrypted volume onto USB all you have to do is copy the encrypted container file and the contents of the VeraCrypt folder to your USB flash drive. Wherever you take the flash drive the encrypted contents will be available directly by running the included VeraCrypt executable file.
To add the necessary files onto a CD, DVD or Blu-ray disk, the container file and the VeraCrypt folder contents need to be added to a project in your favorite burning software and then burned out to disk. If you’re not a fan of the Windows built in burner, refer to our 10 portable disk burning tools article so you can use a portable third party tool for the burn.
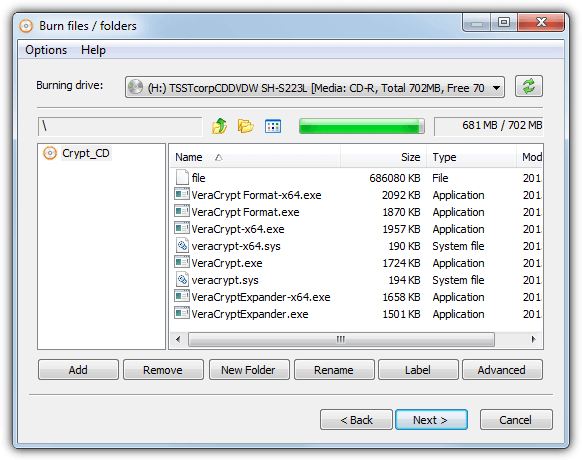
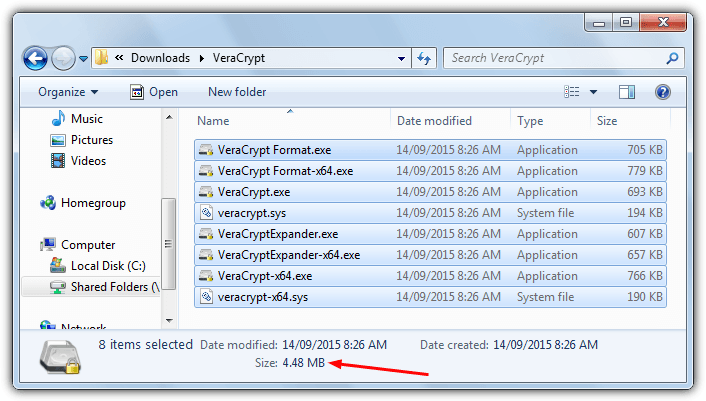
Tip: The VeraCrypt folder is around 25MB but you only need VeraCrypt(-64).exe, VeraCrypt(-64).sys VeraCryptFormat(-64).exe and VeraCryptExpander(-64).exe to run the program portably, that’s 8 files totaling around 11MB. An optional extra step is using UPX to compress the EXE files to get the overall size down to under 5MB, this leaves more space for your VeraCrypt container on the disk.
To access the encrypted files in future on any Windows computer, insert the optical disk or USB drive into your computer, run VeraCrypt.exe (or VeraCrypt-64.exe) and follow steps 11 and 12 to mount the VeraCrypt volume. With files written to CDR, DVDR or BDR they will be read-only and cannot be modified since they are written to disk, you can write to the encrypted volume on USB.

Raymond,
do you know the story how TrueCrypt has become VeraCrypt?
What should be wrong with TrueCrypt?
(besides not running on latest OS)
Thanks Raymond.. keep up your great work..
Hi Raymond
Your articles are very informative and contain quality advices.
I may recommend you Disk Cryptor: diskcryptor.net/wiki/Main_Page/en , little big freeware and open source program (< 1 MB) that besides encrypting disk volumes also can encrypt ISOs (CDs, DVDs or Blu-ray) which then can burn them with programs as Nero.
Bye.
I have been testing truecrypt for a year, running truecrypt from CD require Admin right, it may not suitable for office environment where users has limited access right.
There has been a portable version of TrueCrypt being around.
Nice tool, thank you.
thanks for the info been searching for one for quiet some time
previously been using this type of software provided by samsung hard drive but only limited to samsung hard drive only
thanks man for this
Thanks for the info. WinMend Folder Hidden is also a good app. Been using it quite awhile. Supports removable drives too.
Cool app. And thanks for the precise tut.
thanks ray
Thank you Raymond for this very handy and understanding information.
Thanks Raymond, this is very interesting. Keep up the great work!
I have been using this for a few years now. I create a truecrypt volume for all my confidential documents on my computer. By confidential anything that carries my name and address and any other such stuff. Easy to use and portable. The same volume goes with me on my USB Stick. When you consider you can probably get all the confidential stuff you need on an 8 GB stick it’s a good security measure.
Thanks for the useful share Raymond :D.
thanks Raymond…
Good INFO…!!!